Setup Instructions
Let me walk you through the setup. It's actually pretty quick!
Step 1: Tag Your Existing Customers So They Don't Get Locked Out
First things first - we need to make sure your existing customers don't get locked out. The app uses customer tags to determine who can access locked content, so let's tag your current customers as approved.
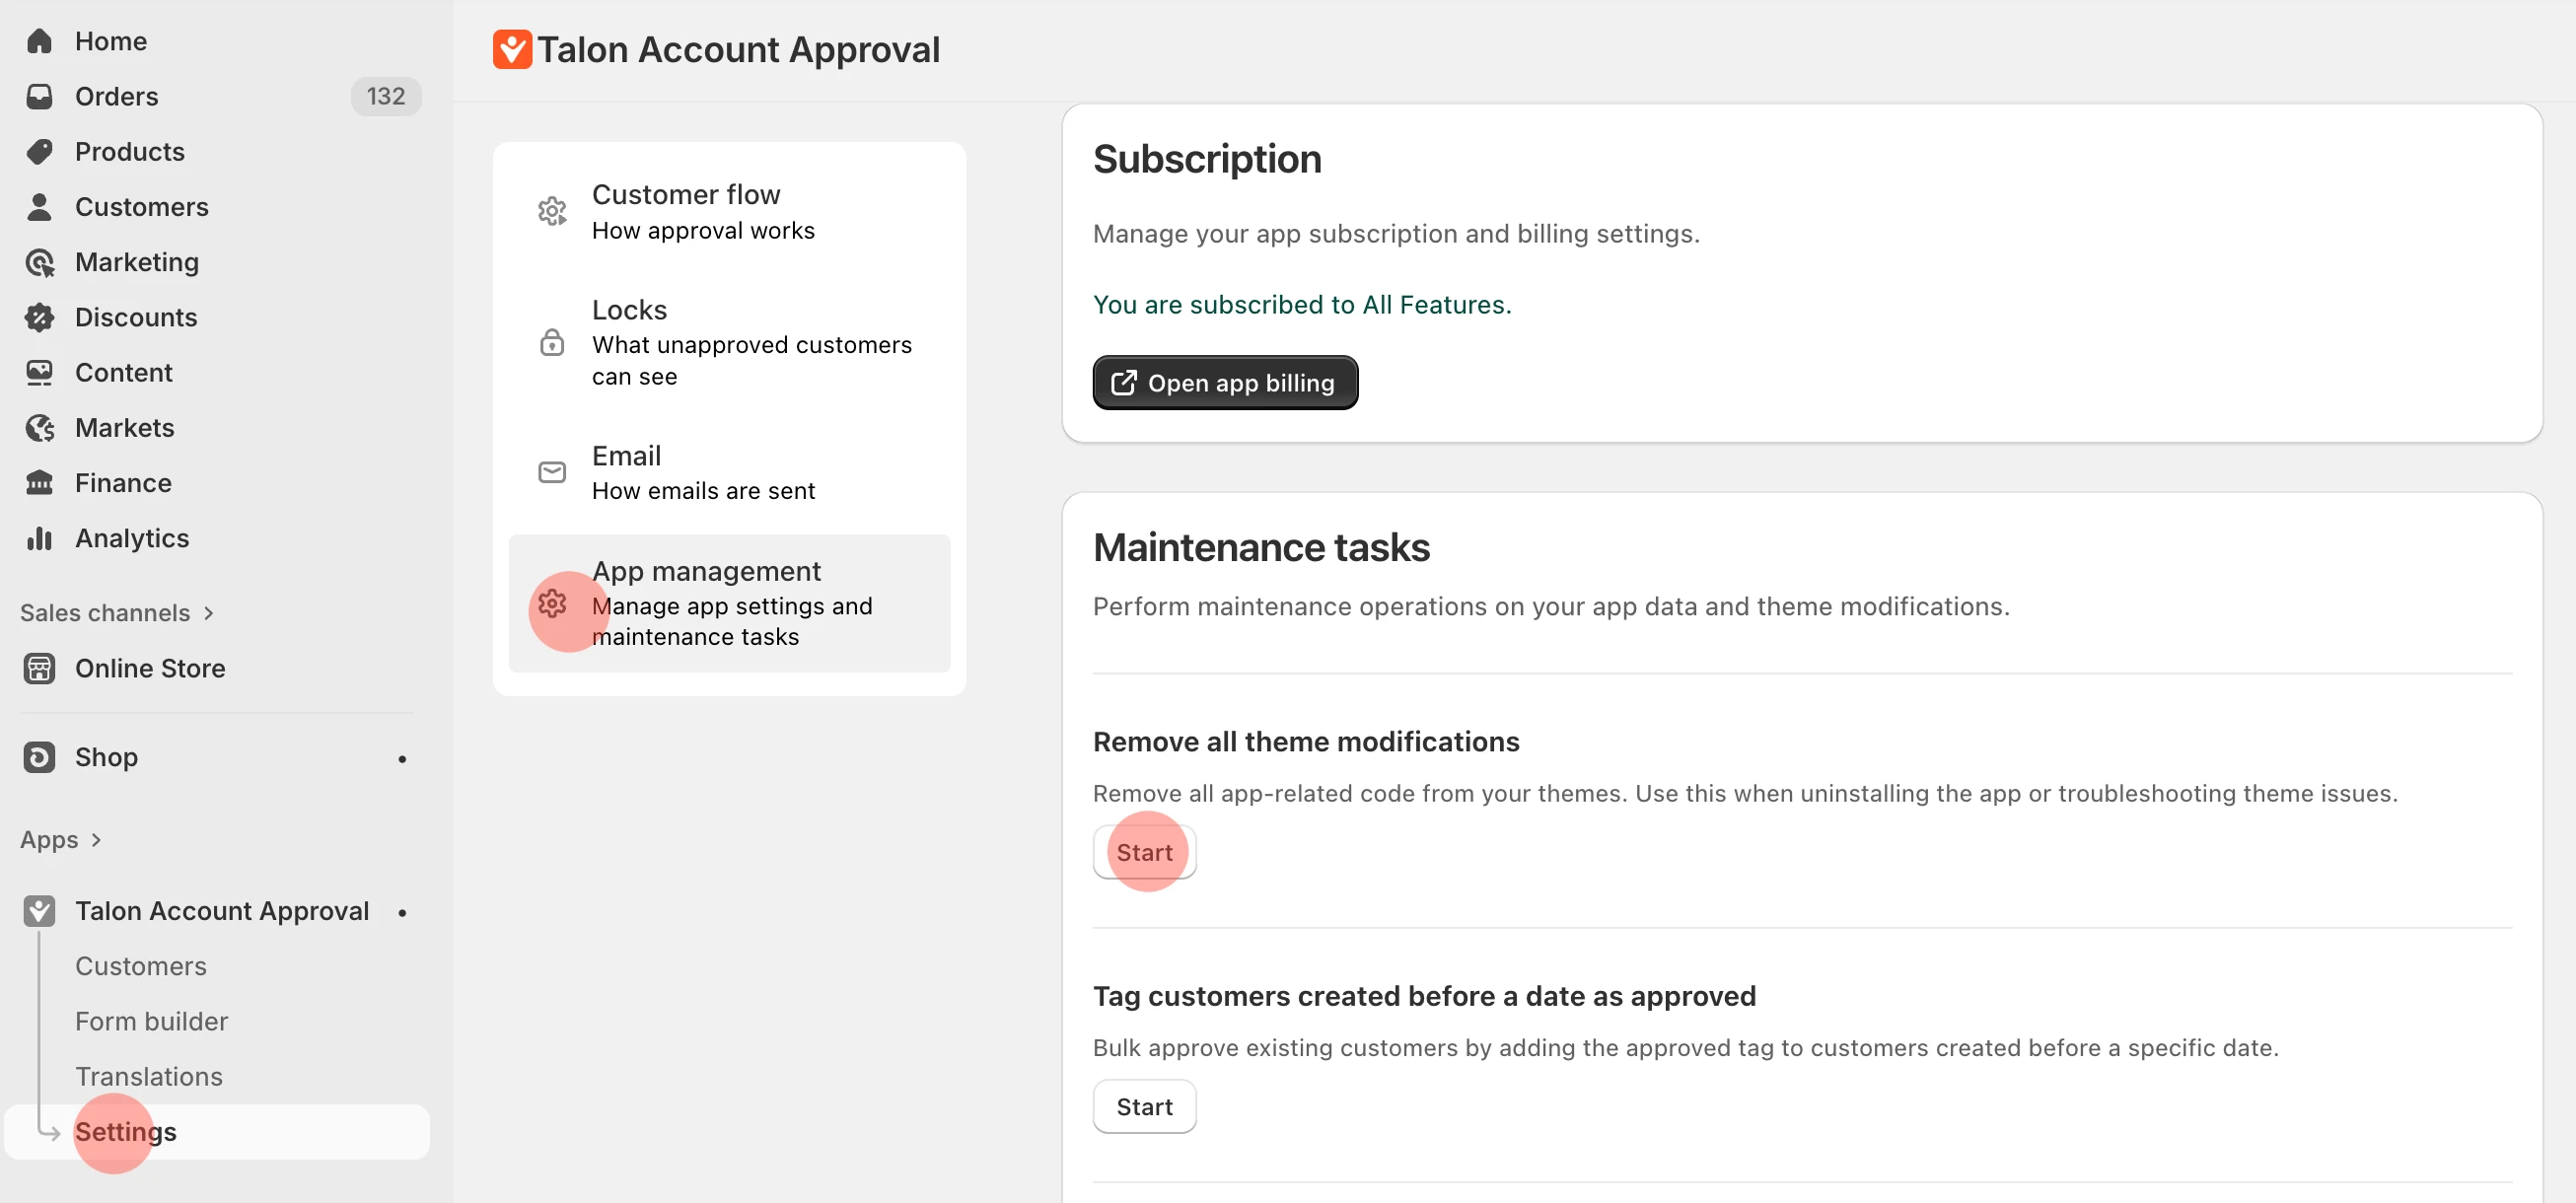
Go to Settings → App Management
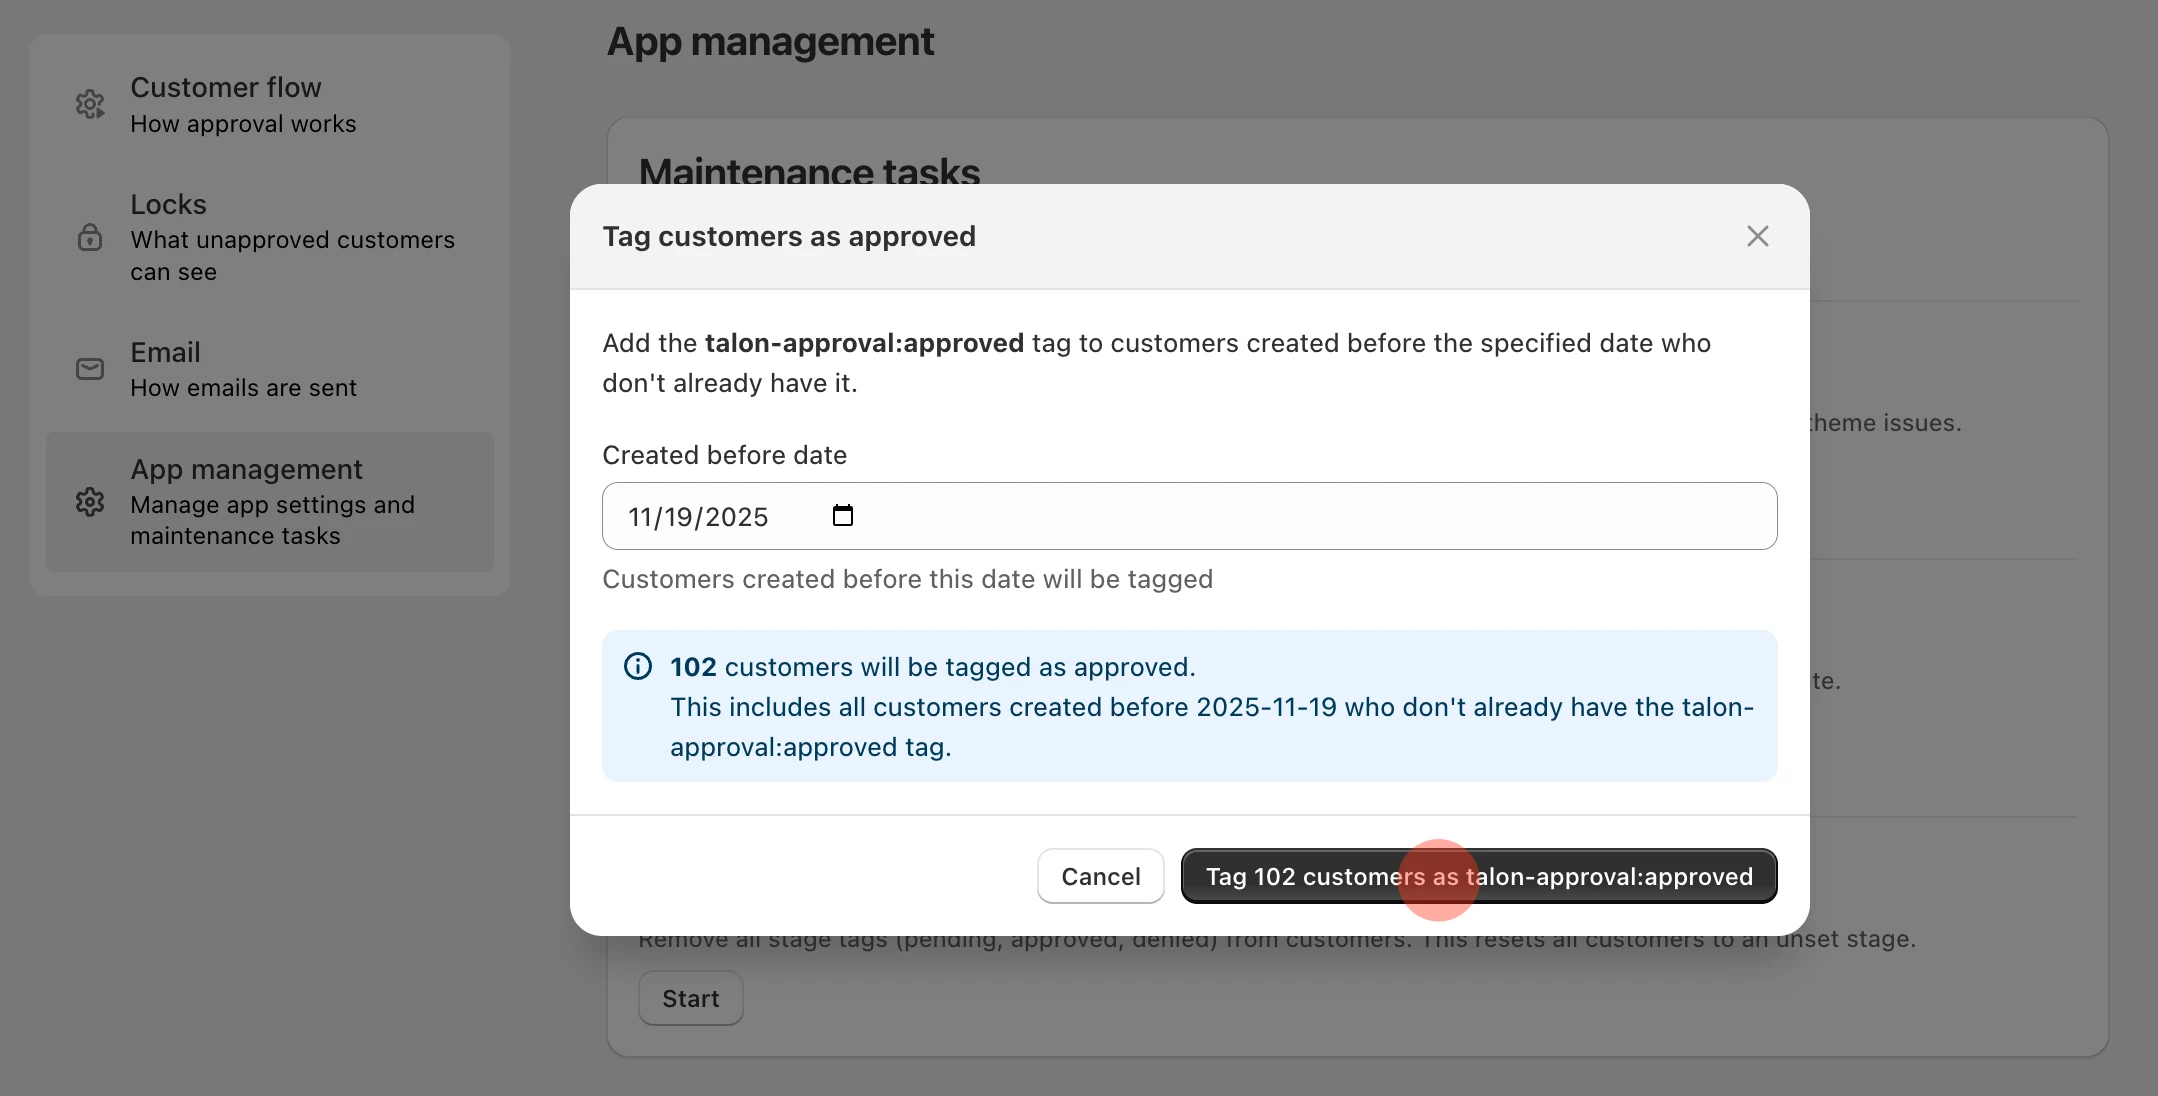
Find Tag customers created before a date as approved
Click Tag X customers as talon-approval:approved
Now your existing customers are all set.
Step 2: Locking Your Store
Now let's take a look at the lock settings. This is where you decide what gets locked.
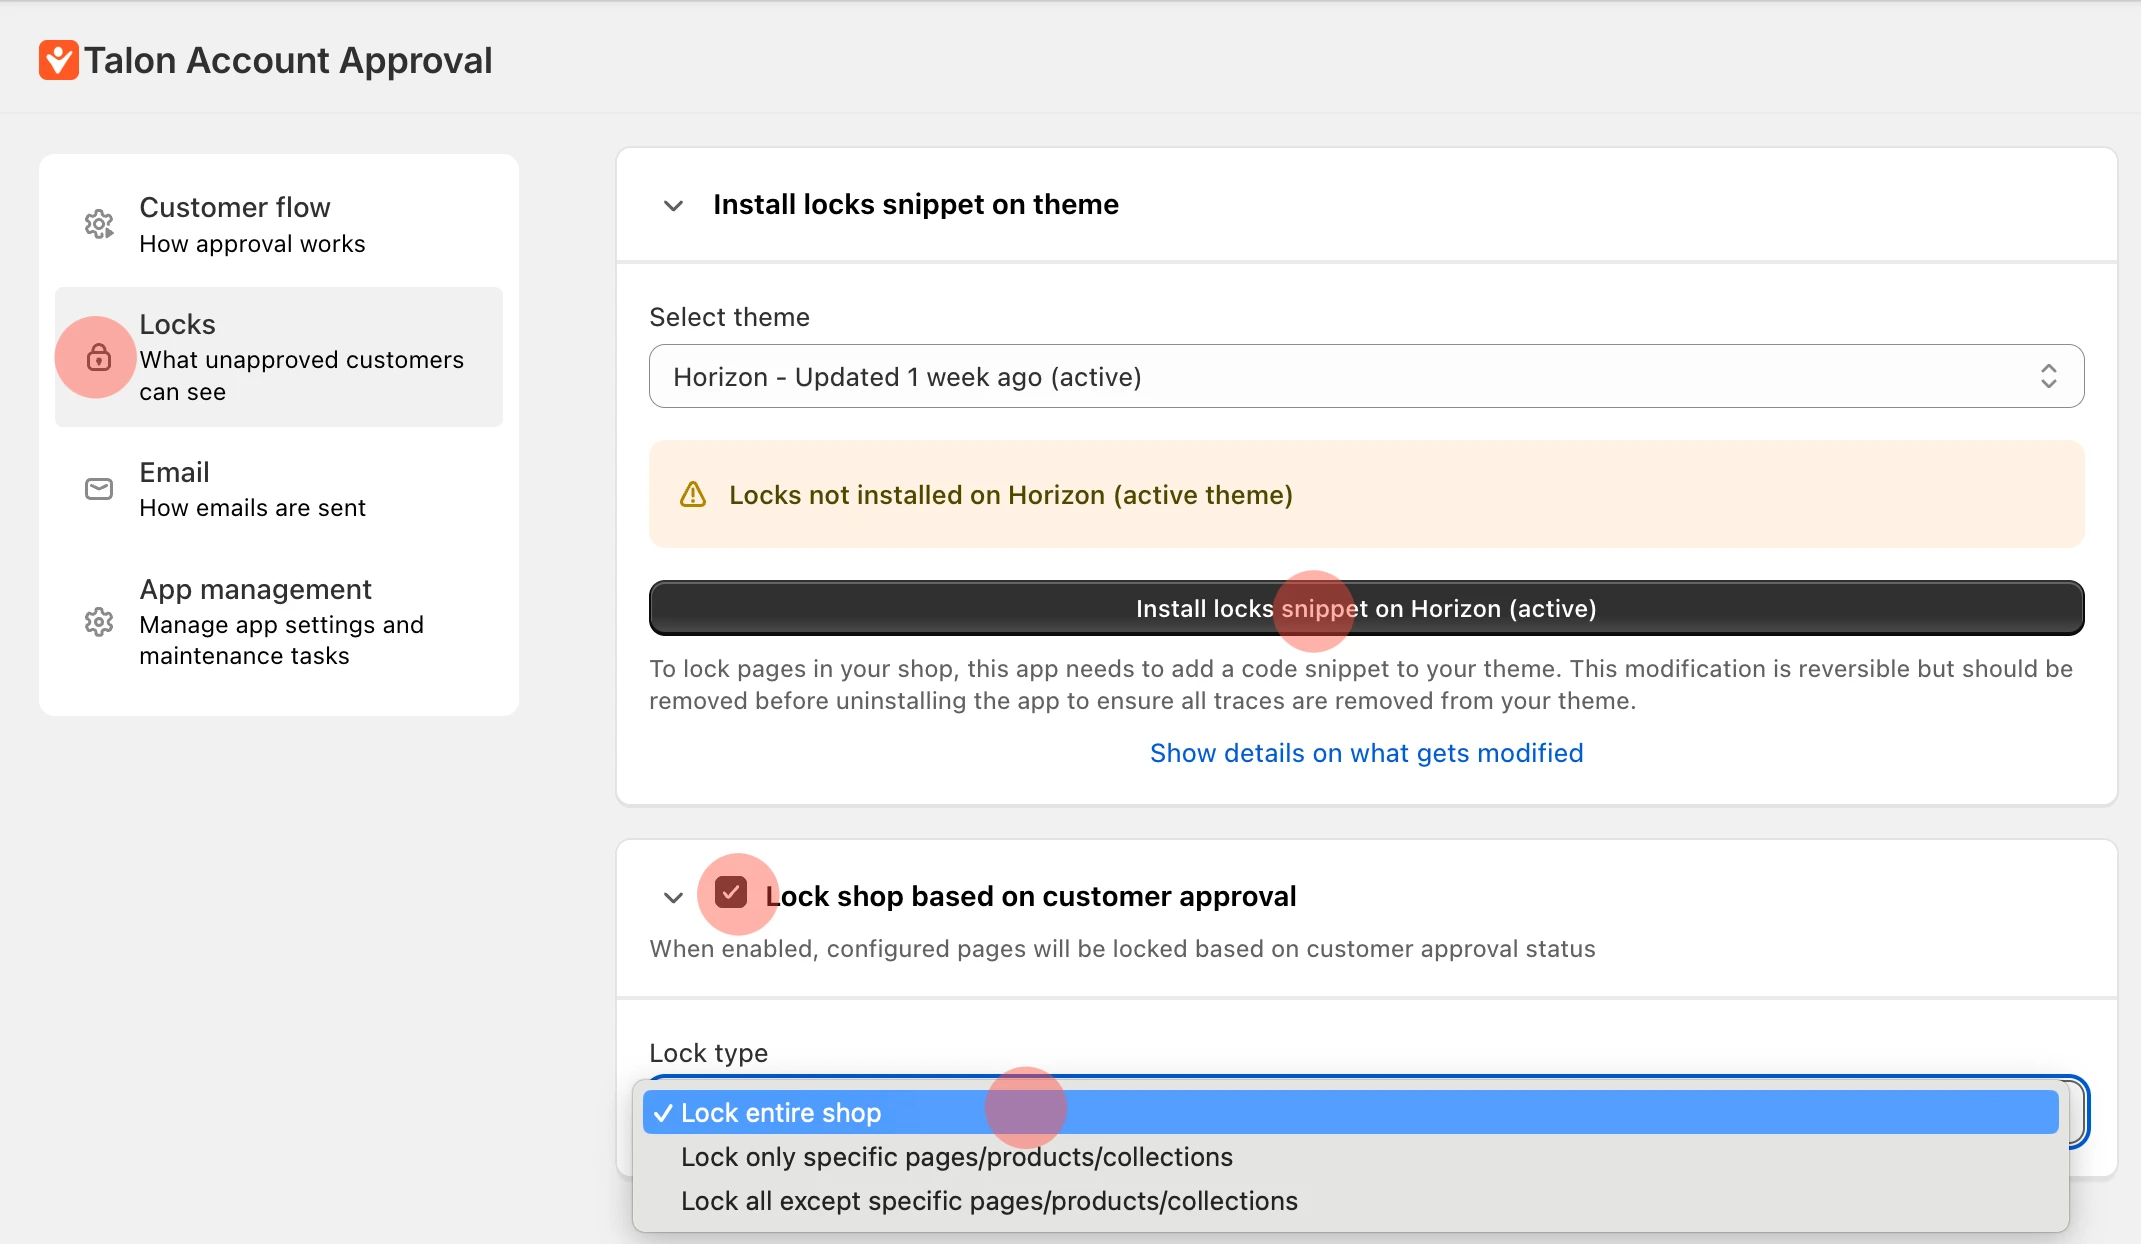
Stay in Settings and navigate to Locks
Click Install locks snippet on theme to add the lock code
Check the Lock shop based on customer approval option
Select the lock type - you can lock the entire shop, specific pages, or whatever you need
And that's it! Now your store is locked for all new customers.
Step 3: Build Your Application Form
Time to create the form that customers will fill out. This is where you collect the information you need to decide if they should be approved.
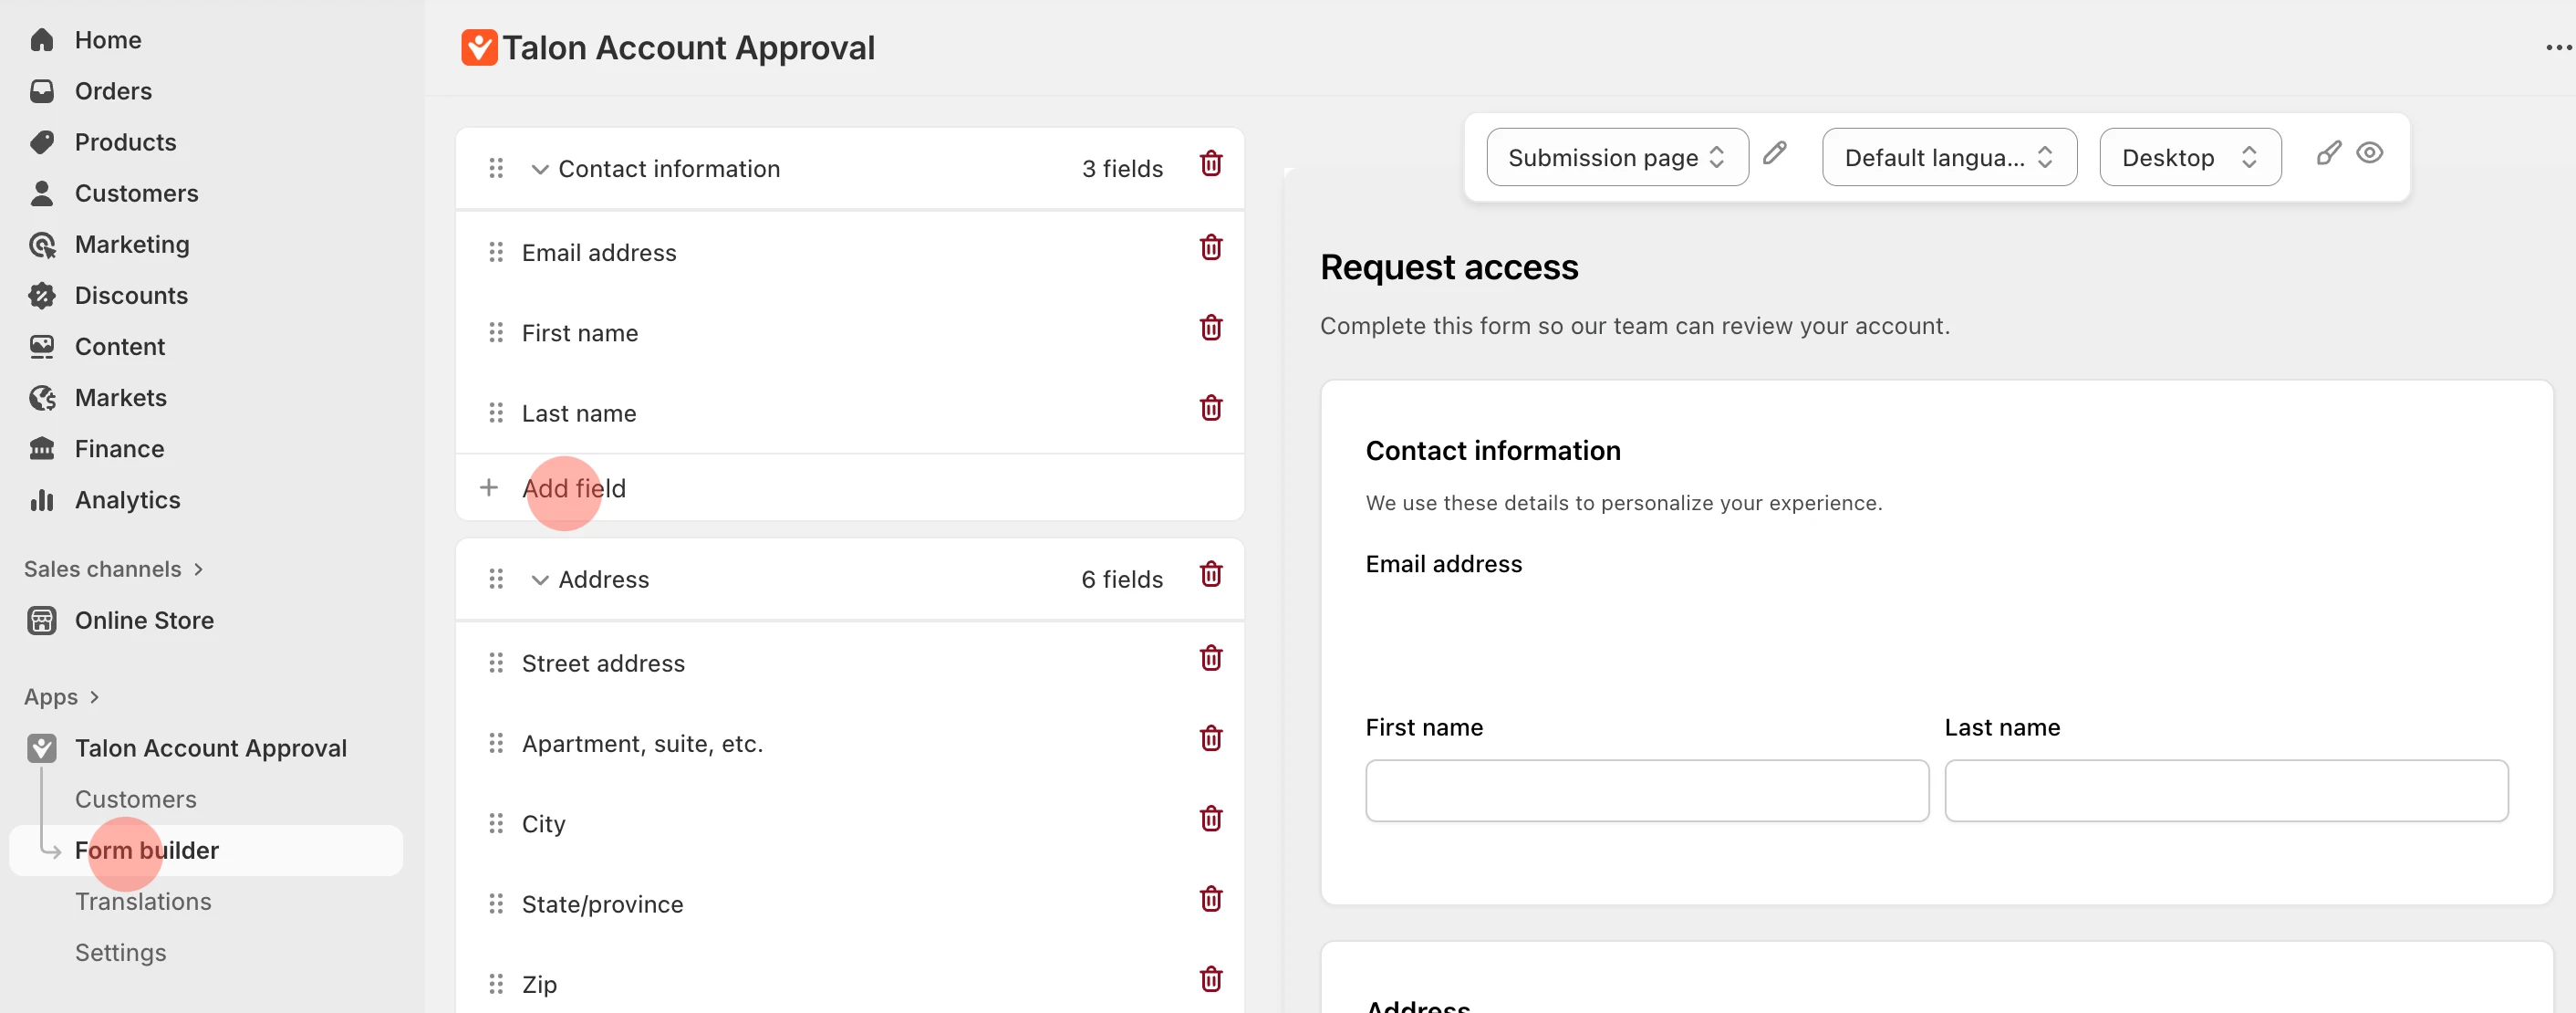
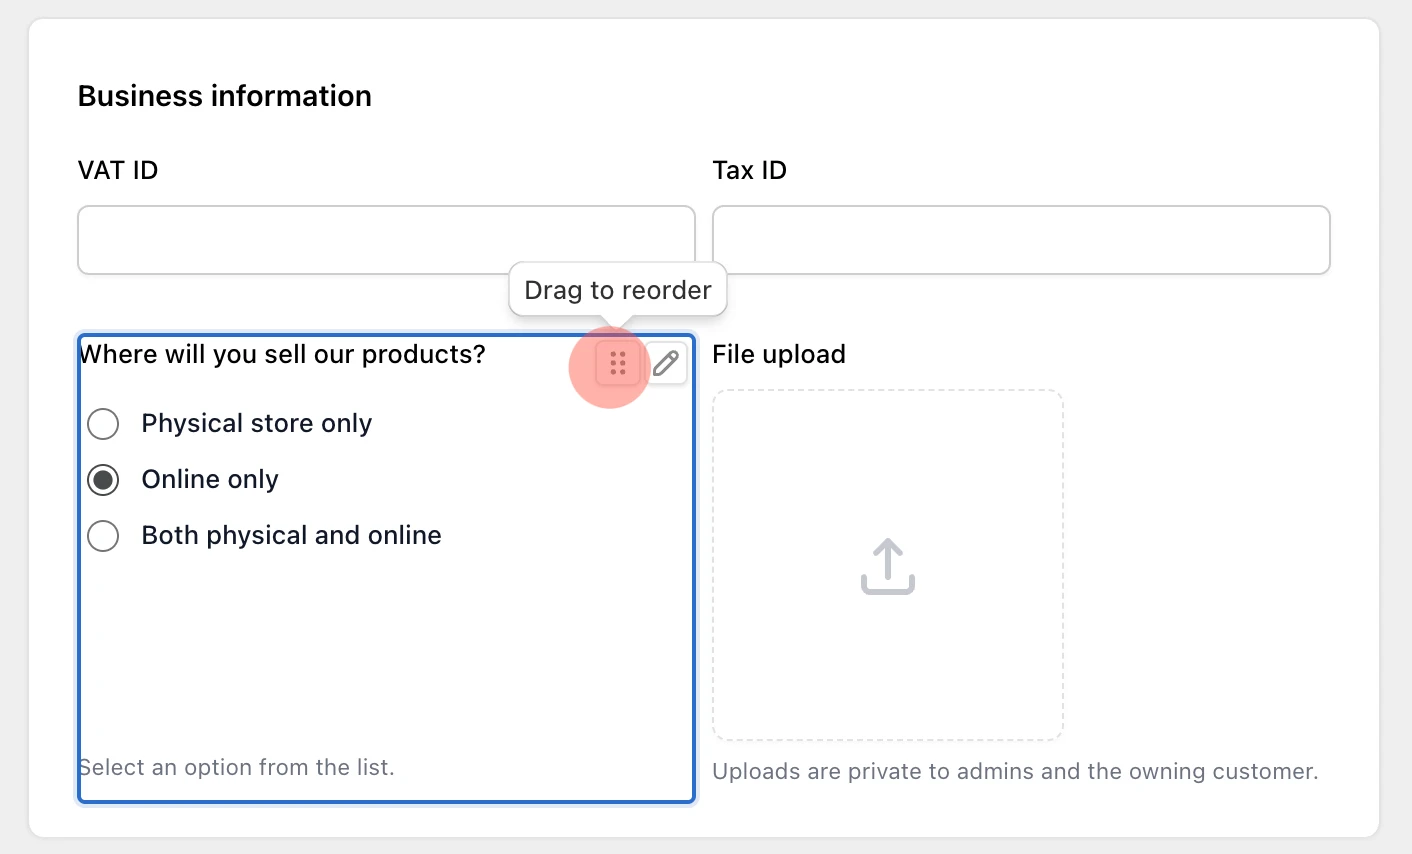
Go to Form Builder in the app menu
Add or remove fields based on your needs
Drag and drop fields to organize them into sections
Check the live preview on the right to see how it looks on desktop and mobile
No coding required - just point, click, and drag.
Step 4: Set Up Your Lock Page
Here at the top of the page, you'll see a select field. Let's click on it and choose Lock page.

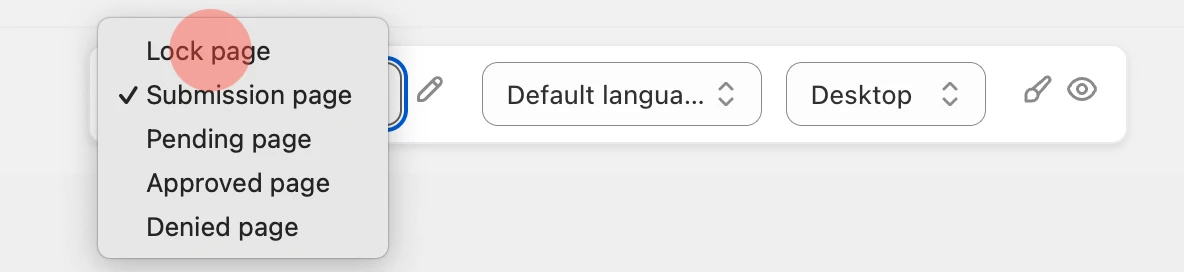
The lock page is the first thing customers see when they open your store while it's locked. You can add information here to explain how they can get access to your store.
Step 5: Customize Your Form Appearance
Now let's make the form look nice and match your brand.
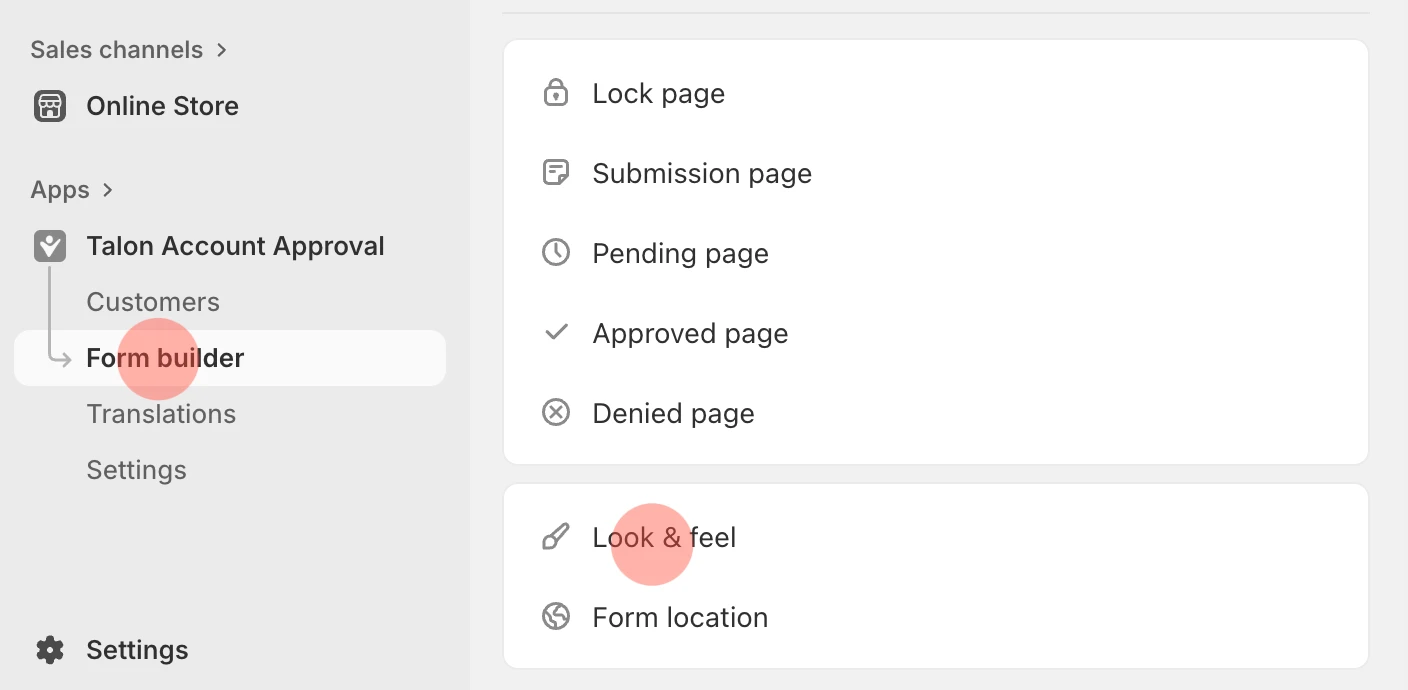
In the Form Builder section, scroll to the bottom
Click Look and Feel
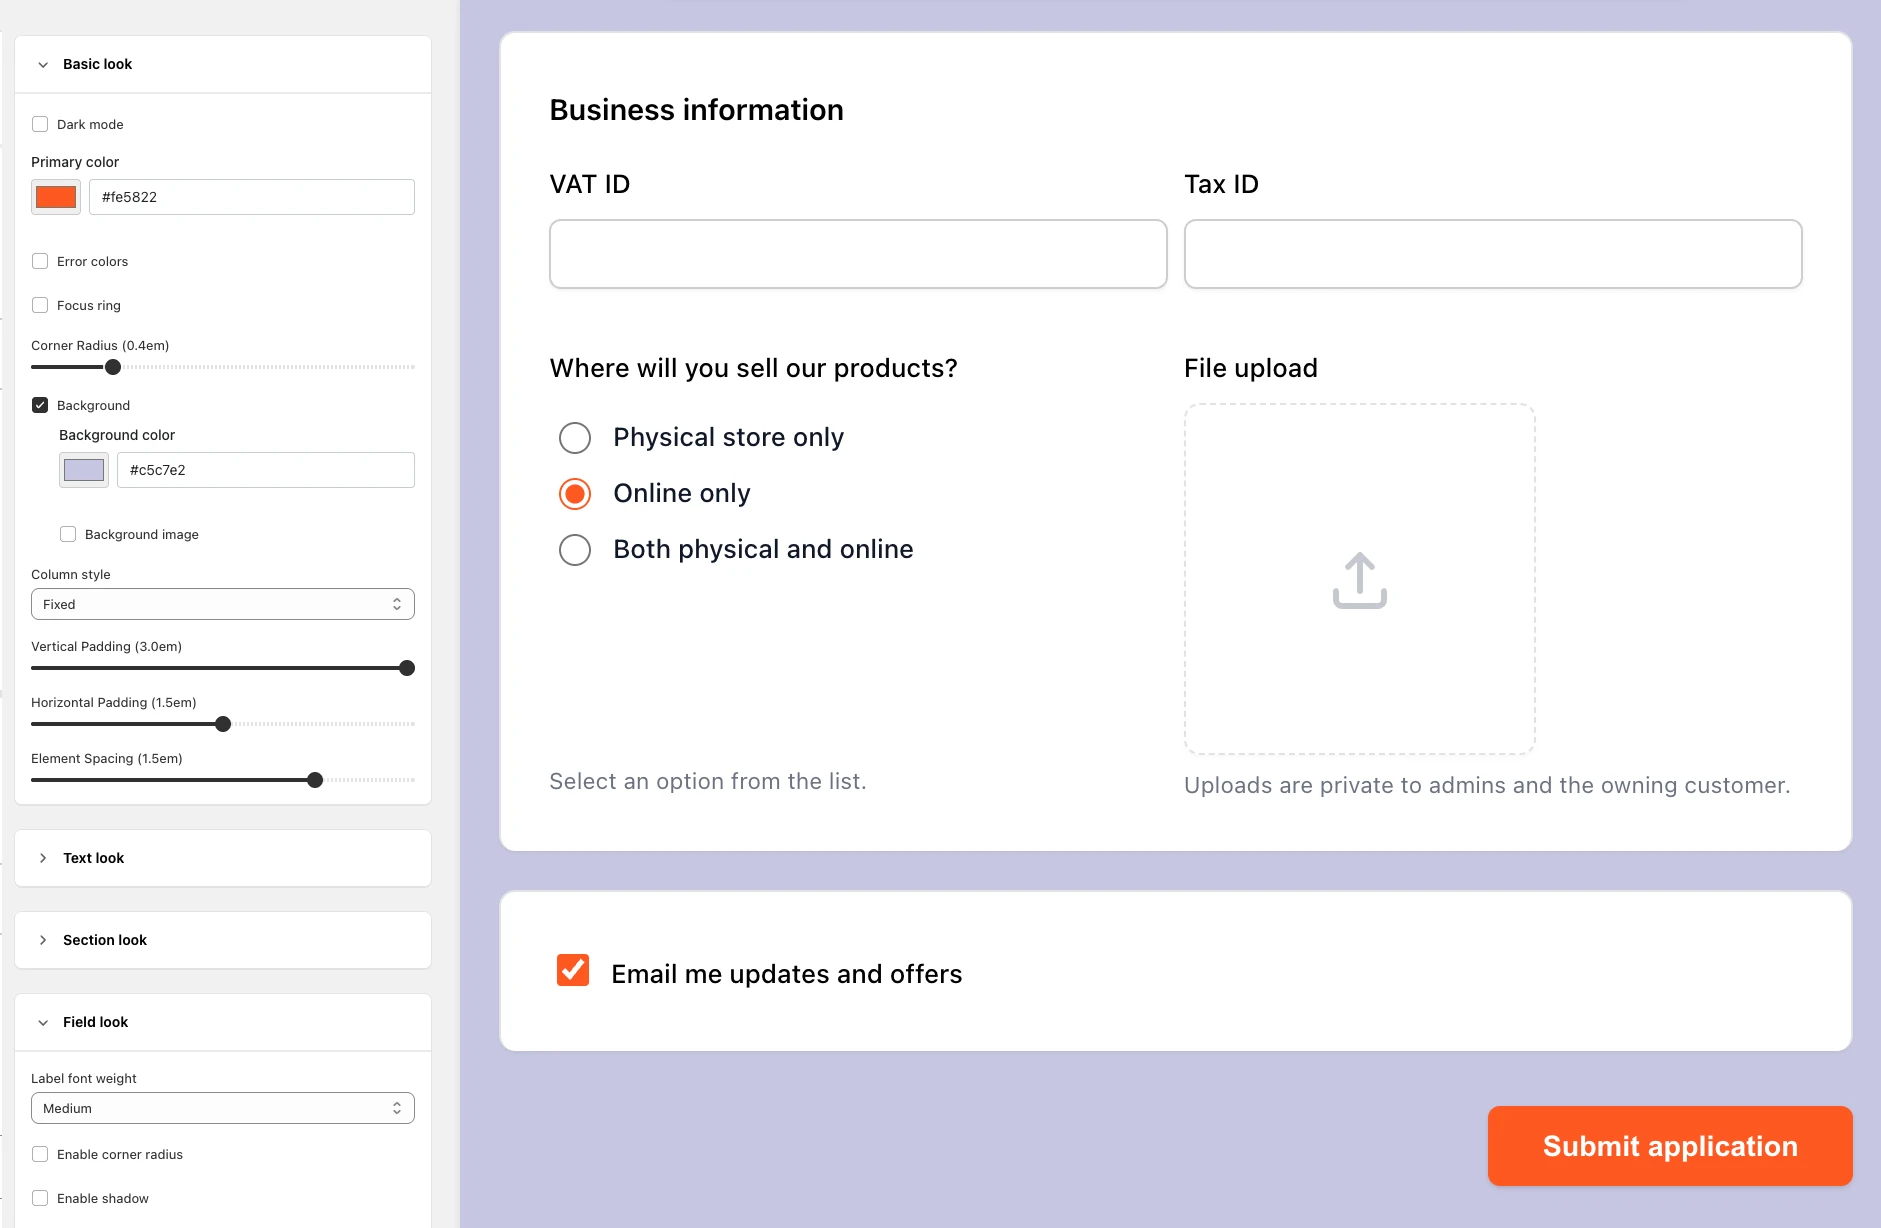
Adjust settings to match your brand-primary color, corner radius, spacing, button style, all that good stuff
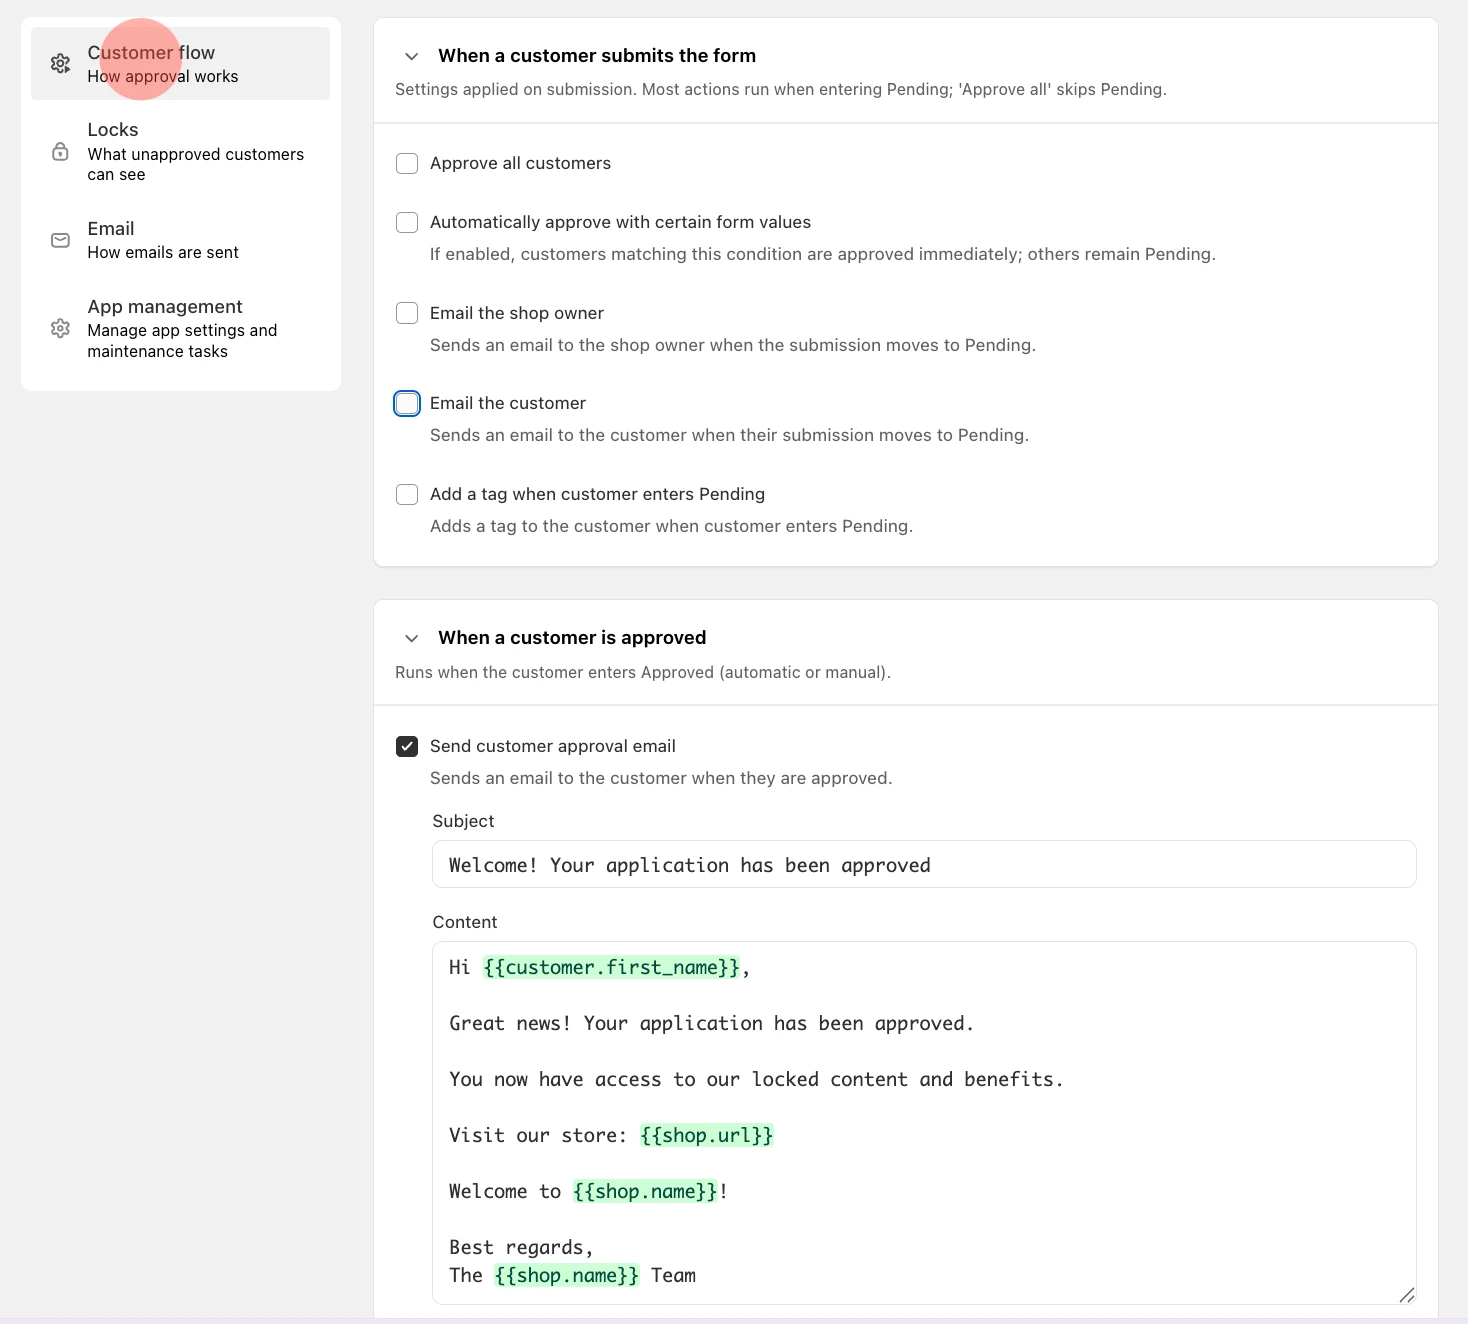
Step 6: Configure Approval Workflow
Also in Settings, you'll want to set up how approvals work. Let's go to Customer Flow.
Here you can:
Choose your Approval Options - manual, automatic, or conditional
Set up the email notification flow - what emails you want to send when a customer applies or gets approved
Add a tag to customers when they're approved
Set tax exemption if needed
Step 7: Managing Applications
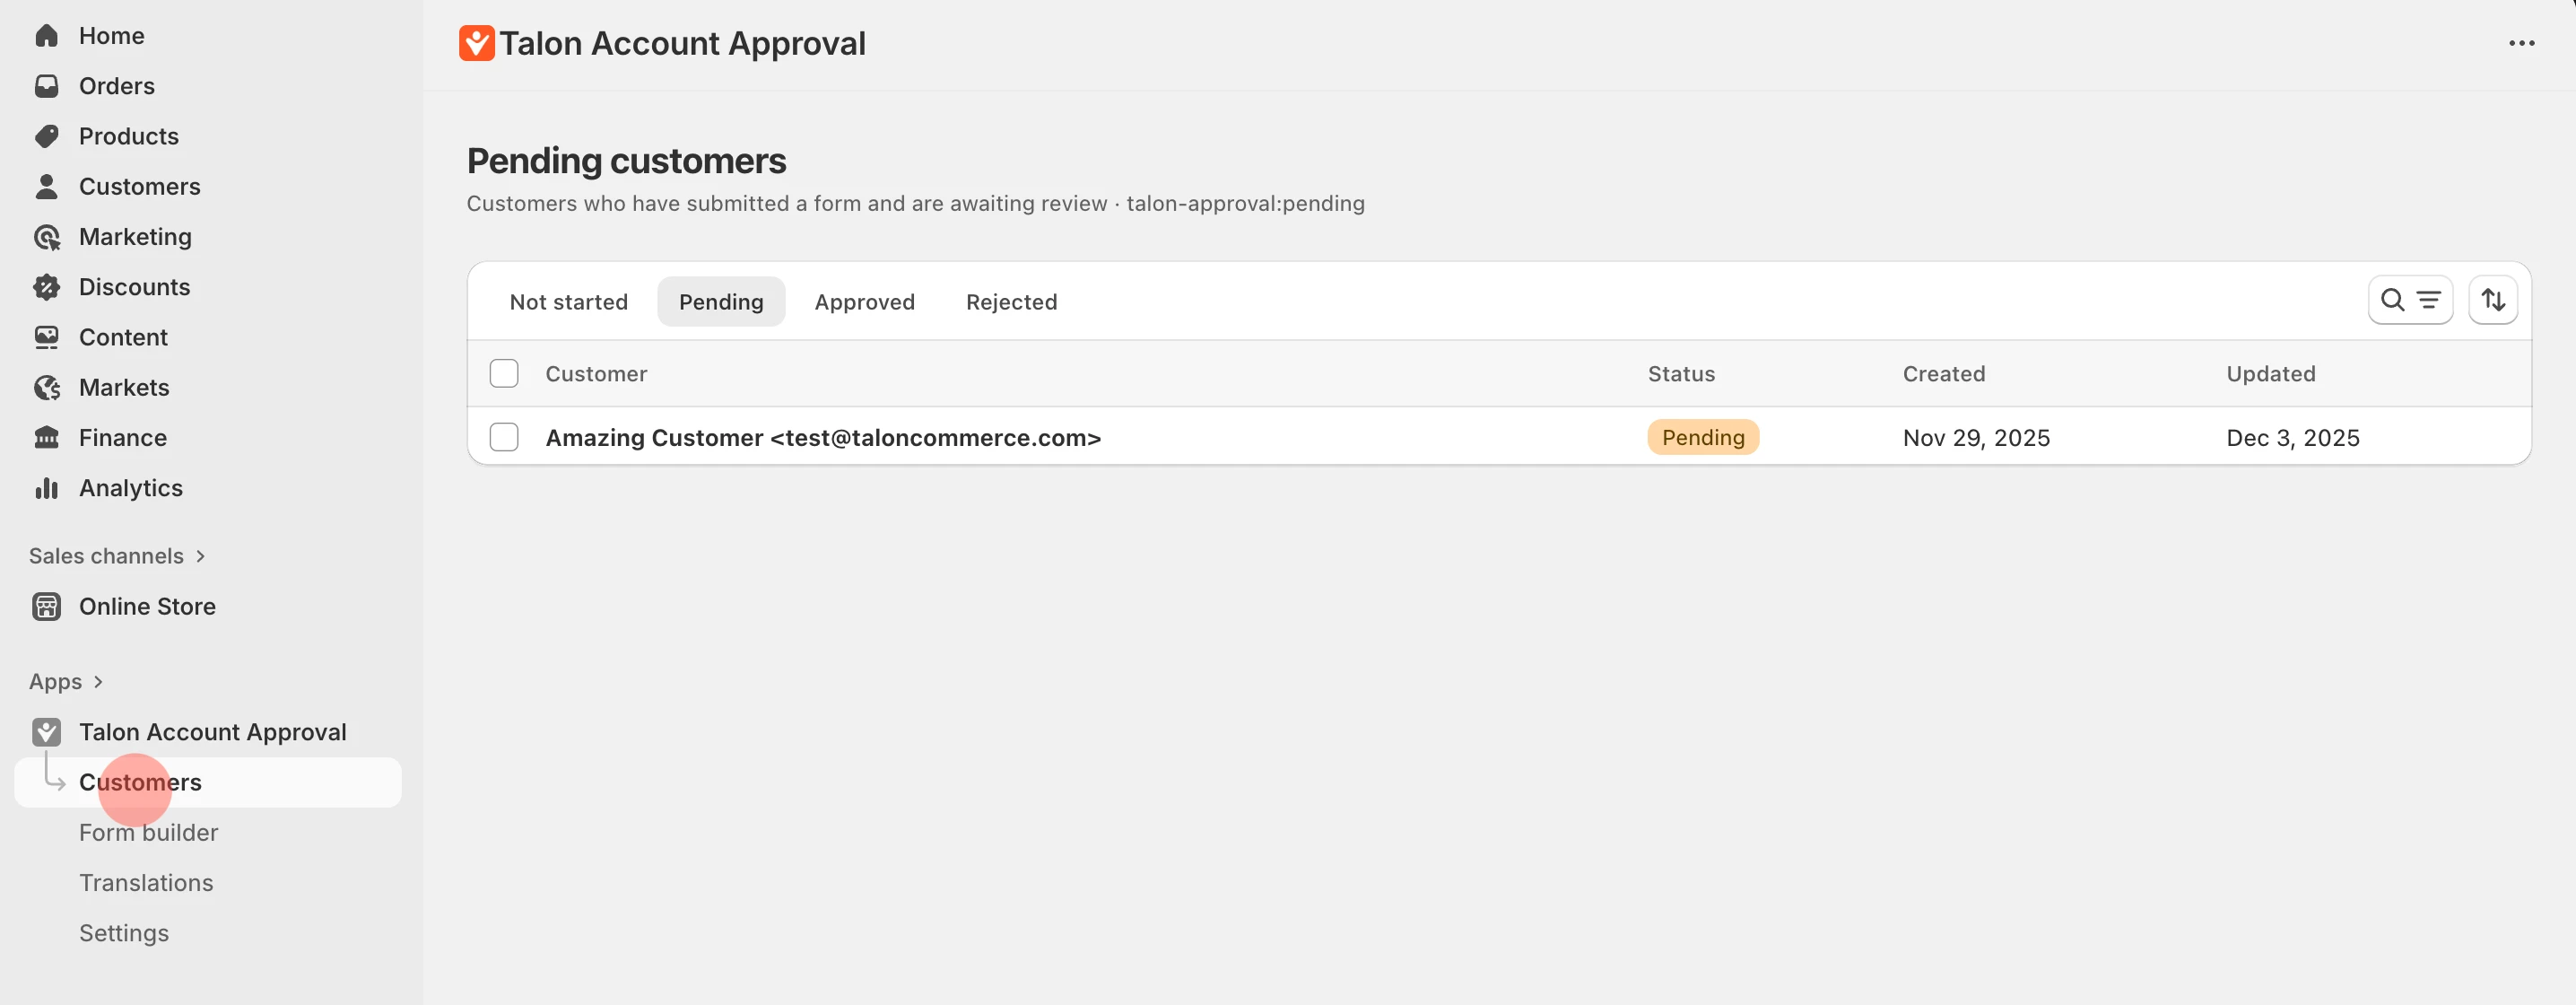
Now let's talk about managing the applications that come in.
Go to Customers in the app dashboard
Open the Pending Customers list
Click on any application to review the submitted data
Choose Approve or Reject
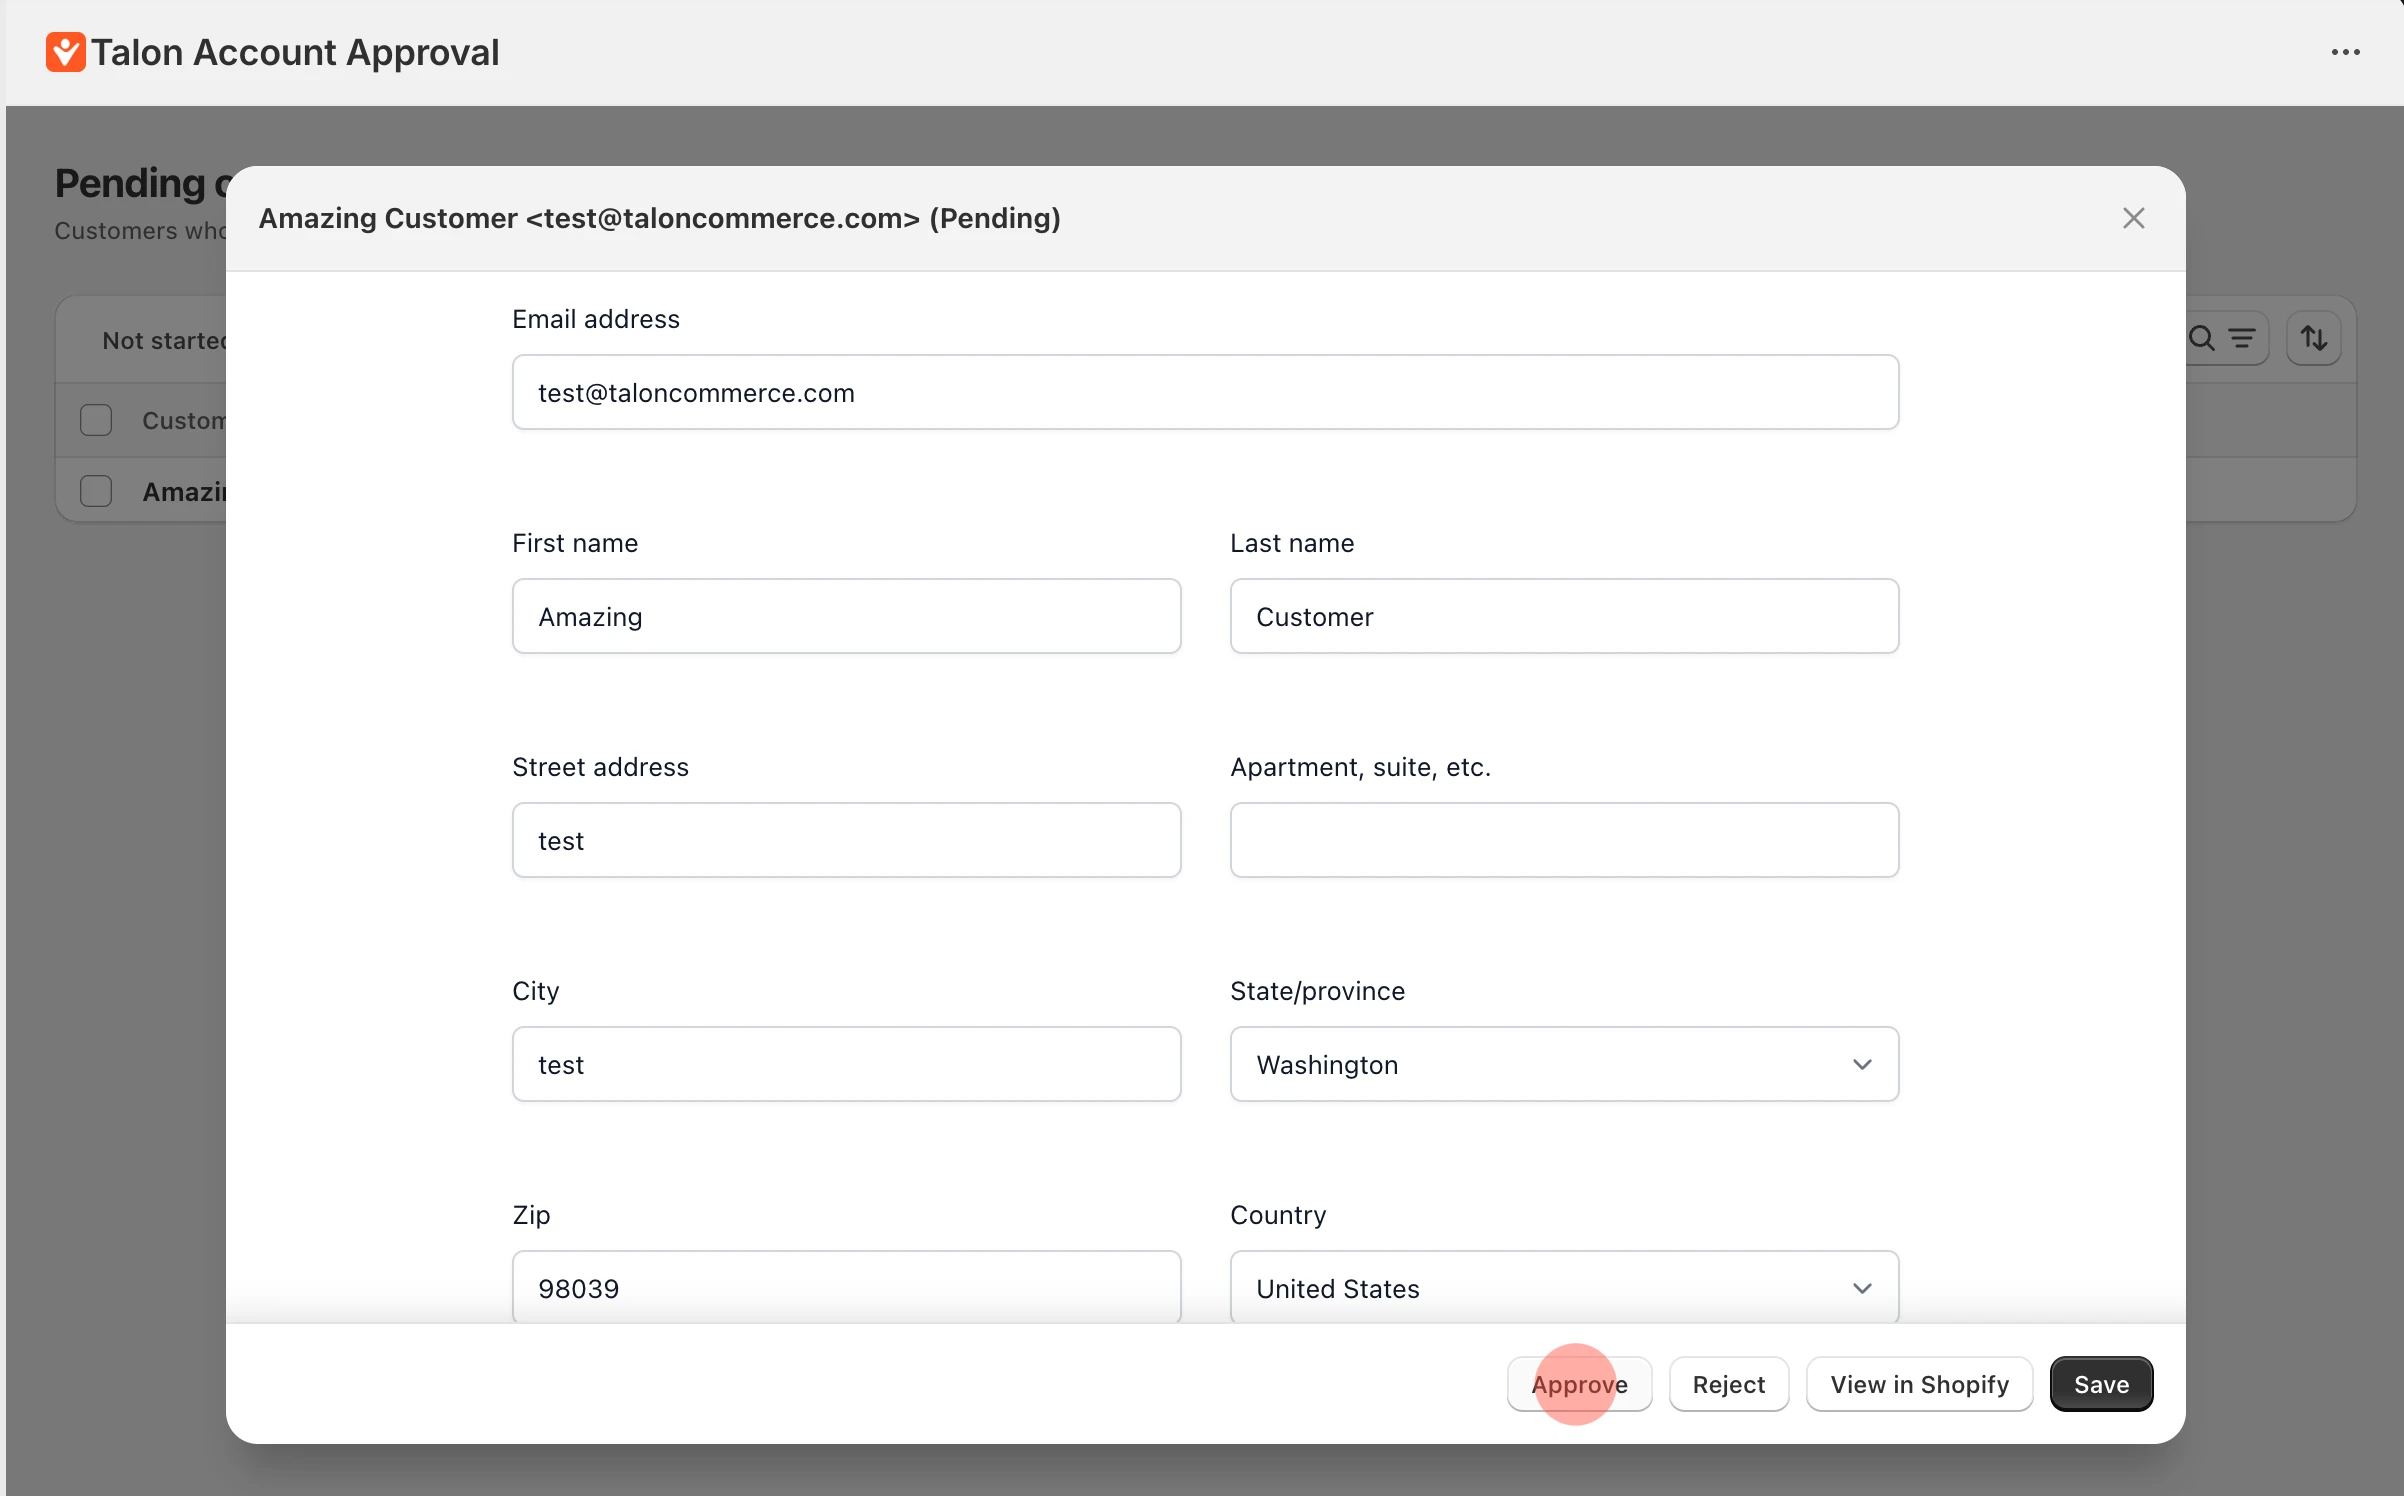
What happens when you approve:
Customer gets the approved tag
Store lock is bypassed for this customer
Approval email is sent (if you configured one)
Customer can now access the store normally
What happens when you reject:
Customer receives a rejection notice (if configured)
Customer remains blocked from accessing locked content
And that's basically it! You can also remove tags if you need to revoke access later - the app handles all of that.
Need additional help? Have a question? Write to us at [email protected]